Connecting People Through Paper Creations
I have been a Paper Pumpkin Subscriber since I became a Stampin’ UP! demonstrator in June, 2018. I have enjoyed them but haven’t used them to their potential. A friend challenged me to do a FB Live video featuring Paper Pumpkin Alternative Designs and here is what I came up with! It was SOOOO much fun! It was more fun than I’ve ever had with a Paper Pumpkin! I like a challenge and this was a challenge but so fun!
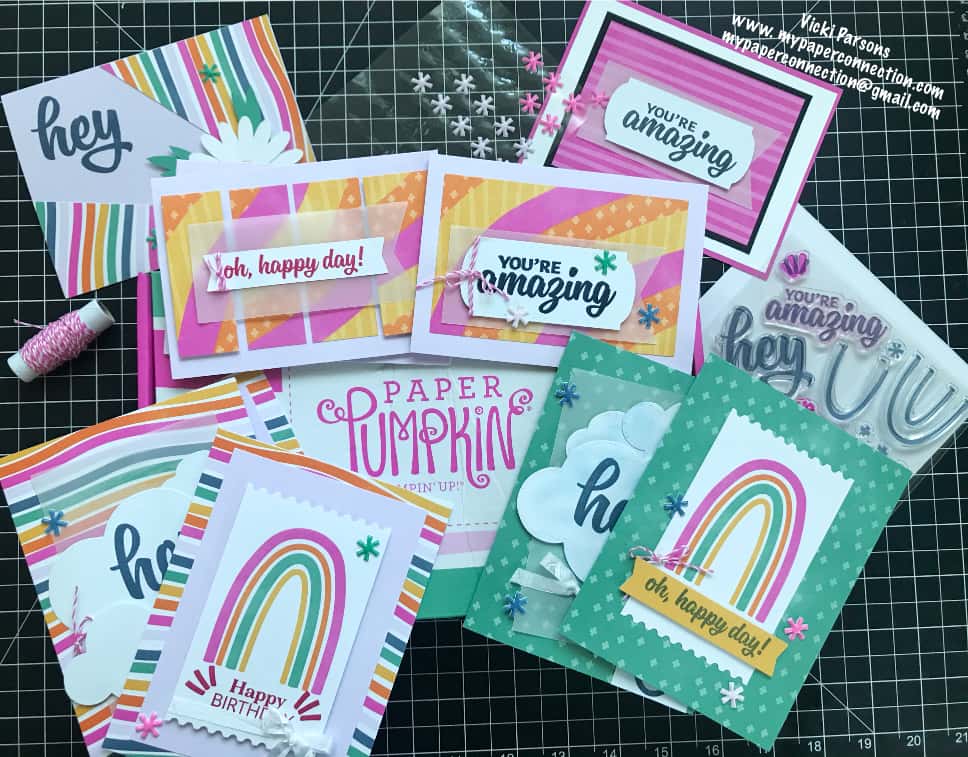
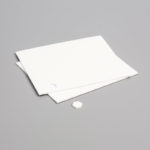
Below is a picture of the designs Stampin’ Up! provide you with when you receive your Paper Pumpkin kit. They’re wonderful and easy to do but as I said, I like a bit of a challenge so I had to go farther with it.
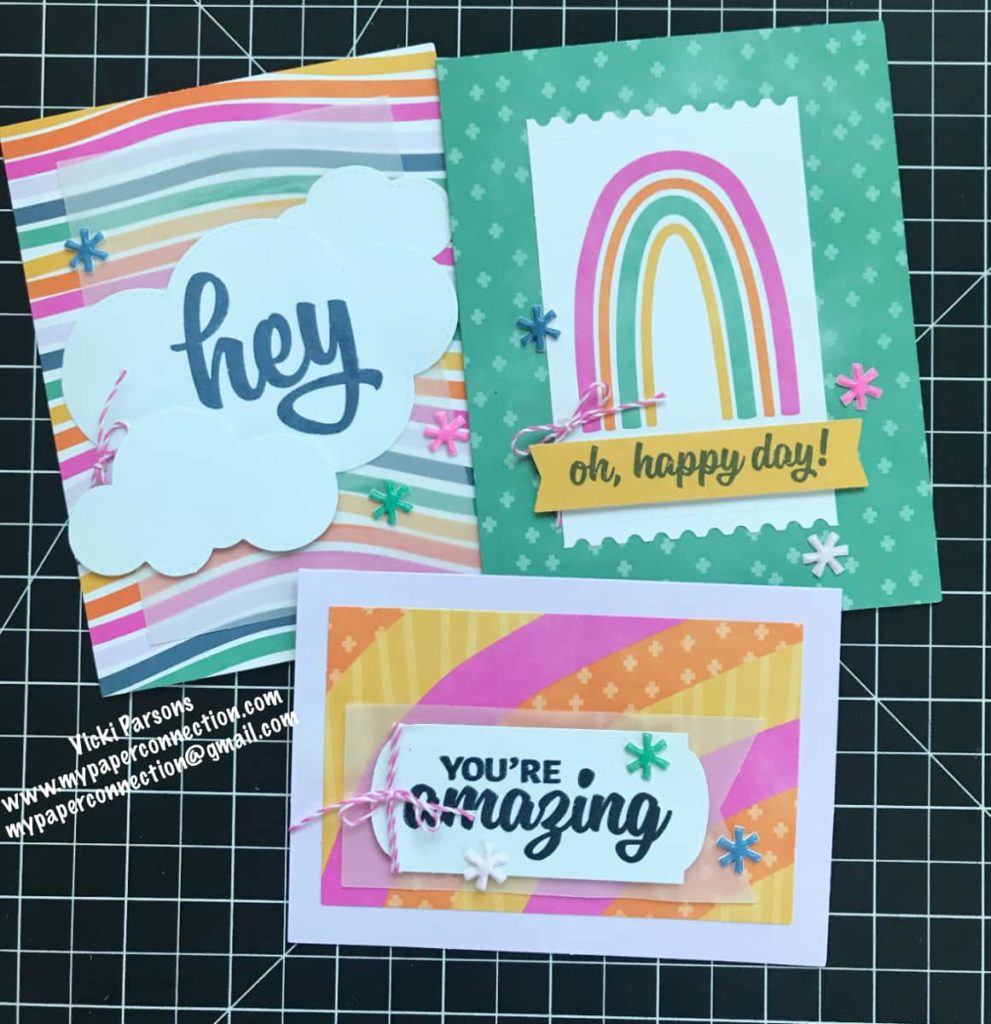
This is how I changed up the designs. For my first card rather than using the rainbow card, I used vellum and the pre-cut clouds that were provided. I used a sponge dauber and applied Misty Moonlight ink (provided in the kit) on the clouds. I stamped “Hey” with Misty Moonlight onto the largest cloud. I glued the two smaller clouds onto the vellum then used dimensionals (also provided) on the back of the largest cloud. I then adhered the largest cloud onto the vellum overlapping the two smaller clouds. I then placed Tombow Glue on the back side of the vellum under the places where the clouds were glued on the front so the glue would not show on the front side of the vellum then placed it onto the card front.
I used the smallest piece of the rainbow stamp and inked it with Misty Moonlight and stamped upside down on the label that is provided in the kit. I then adhered the label to the bottom of the card and trimmed off the excess. The last thing I did was to place embellishments on the card (also provided) and applied Wink of Stella to the clouds and stamped images to make it shiny. This challenged me to think outside of the box and I love how it came out!
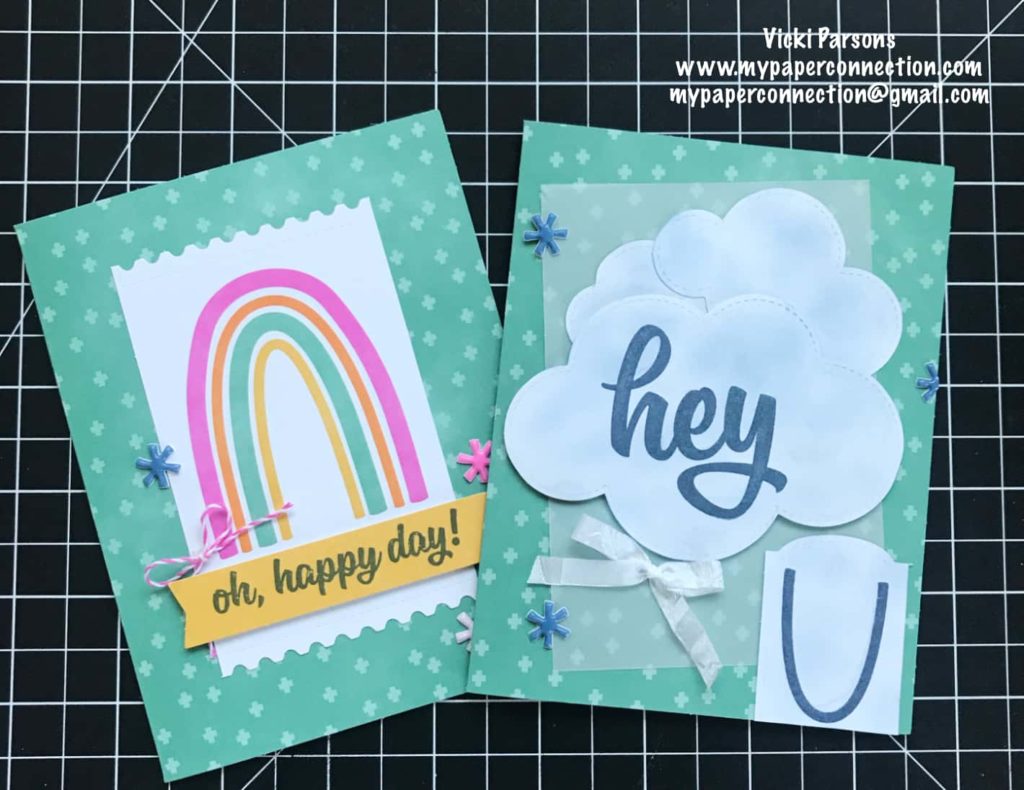
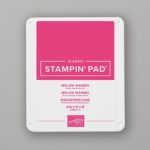
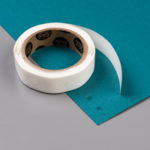
For this alternative, on the long side of the DSP, I cut it into strips at 1″, 1-1/8″, 1″ and 1-1/4″. I placed dimensionals on the back of the first and fourth panel being mindful of keeping the pattern in order. I glued the two inner panels directly to the card base. I stamped the sentiment using Melon Mambo ink on the back of the banner (provided in the kit, front is a Bumblebee color) and adhered it to the vellum. I wrapped twine around the banner and tied a knot in the front (twine provided). I then placed dimensionals in the area behind the stamped sentiment and adhered to the front. Make sure the dimensionals are resting on the two panels that are glued on the DSP rather than the two outer strips. I finished the card by putting embellishments on it. It turned out so cute!

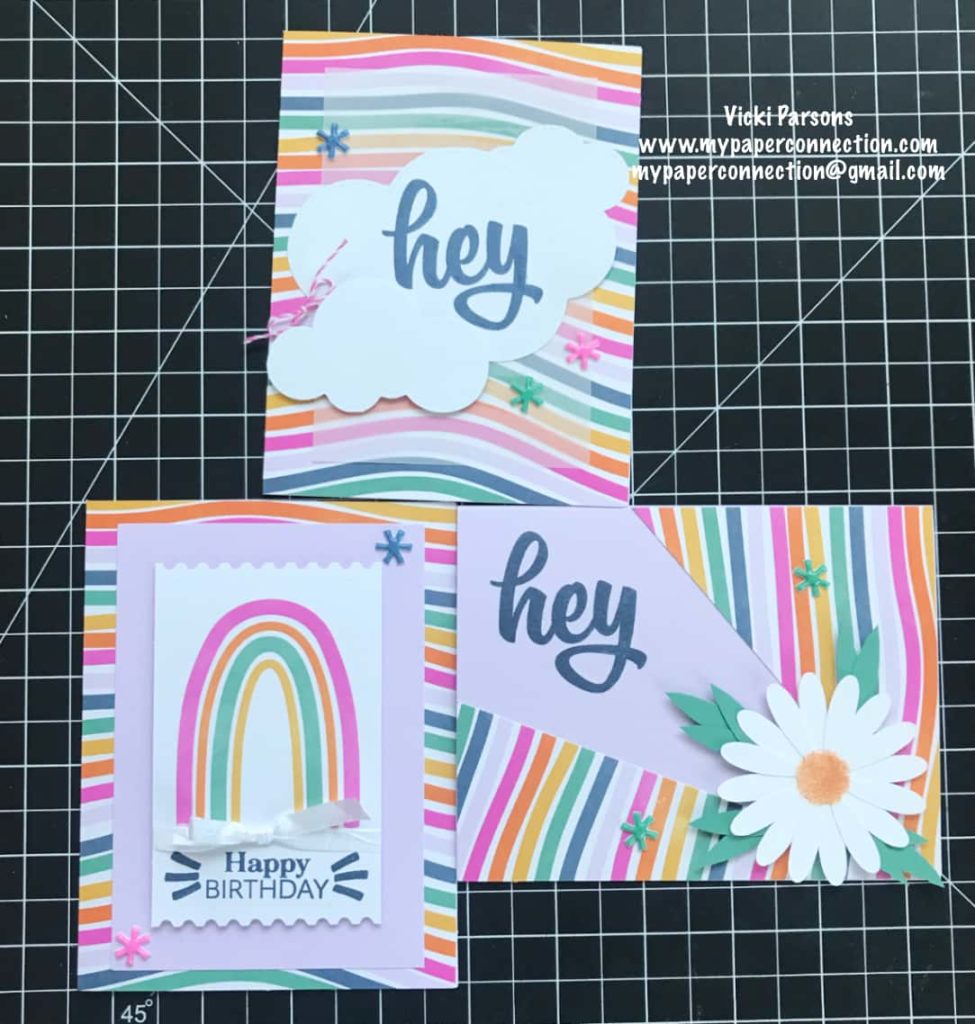
I came up with two alternatives for this card. I took one of the small cards provided in Purple Posy and cut it in half. I used the rainbow card provided and stamped “Happy Birthday” and the accent lines on each side of the sentiment using Misty Moonlight ink (I had also stamped one using Melon Mambo) I placed wrapped Whisper White Crinkle ribbon (not included) around the card tying a bow in the front. I then placed dimensionals on the back and placed it on the Purple Posy half card then placed dimensionals to party it up a bit. It turned out so cute!
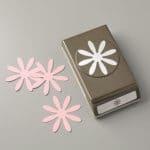
For the second version, I cute one of the striped cards in half so that I could use the striped piece as a card front on another card. I used a piece of 5 1/2″ x 8 1/2″ Purpose posy and scored it at 4 1/4″. I took the striped piece and measured 2″ from the bottom up on the left hand side of the card and placed a mark on this side with my pencil. I then marked my card 2″ from the bottom right corner along the bottom of the card. I then cut from the 2″ mark to the top right corner creating a slant. I also cut to the top right corner from the left. I pieced these two together along the corners to create this “ray” effect and glued them in place. To truly understand this, you will probably need to watch the video. I stamped “Hey” in Misty Moonlight in the widest opening of the DSP. I then punched out two daisy flowers using my Daisy punch. I glued the daisies together alternating the petals so it looks full. I used a sponge dauber and dipped it in Pumpkin Pie ink and placed it in the center of of the daisy creating the nose of the daisy. I popped the daisy up on dimensionals. I punched it a few petals using Just Jade and trimmed each petal to a point then used them as leaves. I glued them in three’s and placed them under the Daisy. The last thing I did was to add the coordinating embellishments. I’mm so happy with how this card turned out! So fun!!!
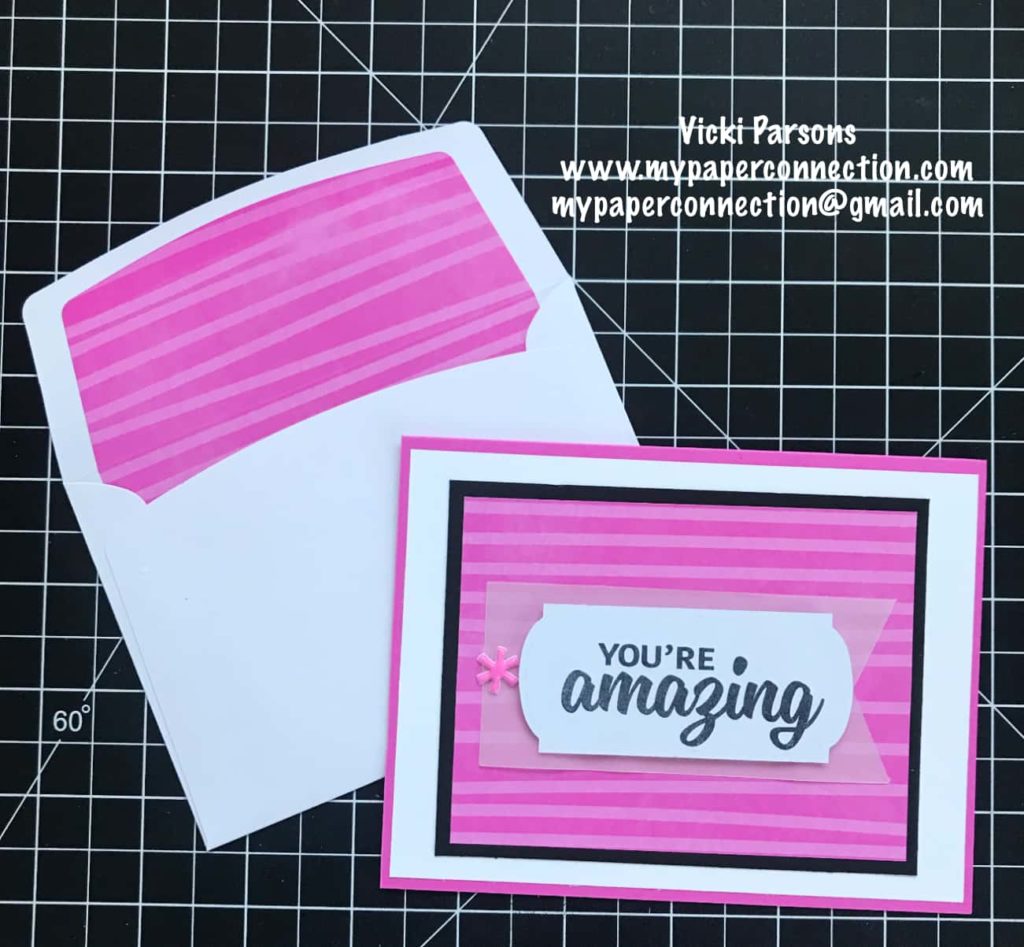
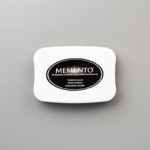
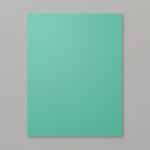
For my last card, I cut an envelope apart that came in the Paper Pumpkin. It belonged to one of the card bases I had cut apart. I cut it down to 3 1/4″ x 4 1/4″. I adhered it to a 3 1/2″ x 4 1/2″ piece of Basic Black Cardstock. I then glued this to a 4″ x 5 1/4″ piece of Whisper White Cardstock which I then glued to a Magenta Madness Card base (5 1/2″ x 8 1/2″ scored at 4 1/4″). I used one of the labels provided in the kit and stamped “You’re Amazing” using Tuxedo Black Memento ink. I placed dimensionals on the back of the label then adhered it to one of the vellum banners that came in the kit before gluing this to the center of the card. I finished it up with embellishing it with a single Magenta Madness starburst embellishment also provided in the kit.
This was truly the most fun I’ve ever had with a Paper Pumpkin Kit. My plan is to continue this in the future so be sure to subscribe to my YouTube Channel for the replays or go to My Paper Connection FB page and “like” it to see my FB lives on Thursday evenings.
To get your Paper Pumpkin subscription started with ME as your demonstrator (Vicki Parsons in Warner Robins, GA) so you can see even more EXCLUSIVE ideas and get gifts and prizes click here:https://www.stampinup.com/ecweb/category/1023000/paper-pumpkin?dbwsdemoid=2197917
Join my Spunky Stampers Community click here: https://thepaperconnection.stampinup.net/join_now
Thank you for stopping by!!!
Vicki

Reader Interactions