Connecting People Through Paper Creations
I made some cards with this set shortly after it became available to me then just sat on it for a while. I decided to bring it back out and play with it a bit and I’m so glad I did. I’m a bit of a Navy Blue kind of girl anyway, well pretty much anything blue so I had a lot of fun with these cards.
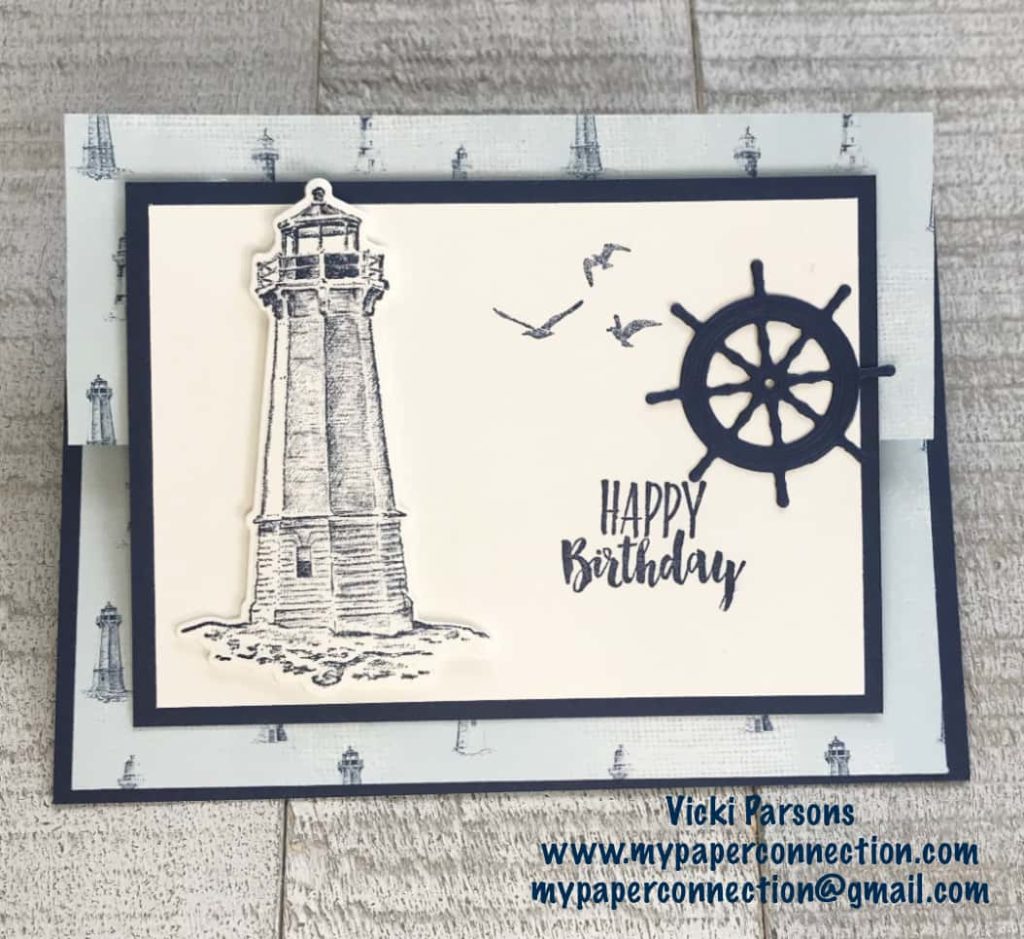
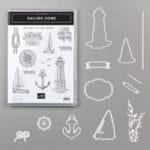
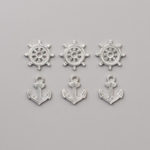
For my first card, I used the Designer Series Paper as my card with Night of Navy as my card base. I learned this technique from Ronda Wade. It’s a great way to use designer series paper when you have a lot left over. The DSP is ¼” smaller than the card base at 5 ¼” x 8” and scored at 2” and 4” on the 8” side. I folded and burnished it so that it created a Z-fold then glued it to the Night of Navy card base. I stamped the lighthouse in Night of Navy ink on a scrap piece of Whisper White then die cut it. I also die cut a ship wheel out of Night of Navy. Before adhering any of these pieces down, I placed the lighthouse where I thought I wanted it then stamped the birds and sentiment on a piece of Whisper White. Next I placed dimensionals on the back of the lighthouse and placed it to the left of the paper then I applied Tombow Liquid Glue on the back of the wheel and glued it in place. After the front was decorated, I adhered the Whisper White piece onto a Night of Navy piece of cardstock that is ¼” larger than the white piece. Once this was all finished, I placed dimensionals on the back of this flap being mindful to only place them on the top half then placed it on the front fold of the DSP making sure that when it was in place there would be equal margins around all sides. I didn’t do it yet because I haven’t decided where I want to put it but you can cut a piece of Whisper White the same side as the one with the lighthouse and place it on the inside of the card for a handwritten note or you can place a 4” x 5 ¼” piece of Whisper White on the back of the card base. I just love how this fun fold turned out!
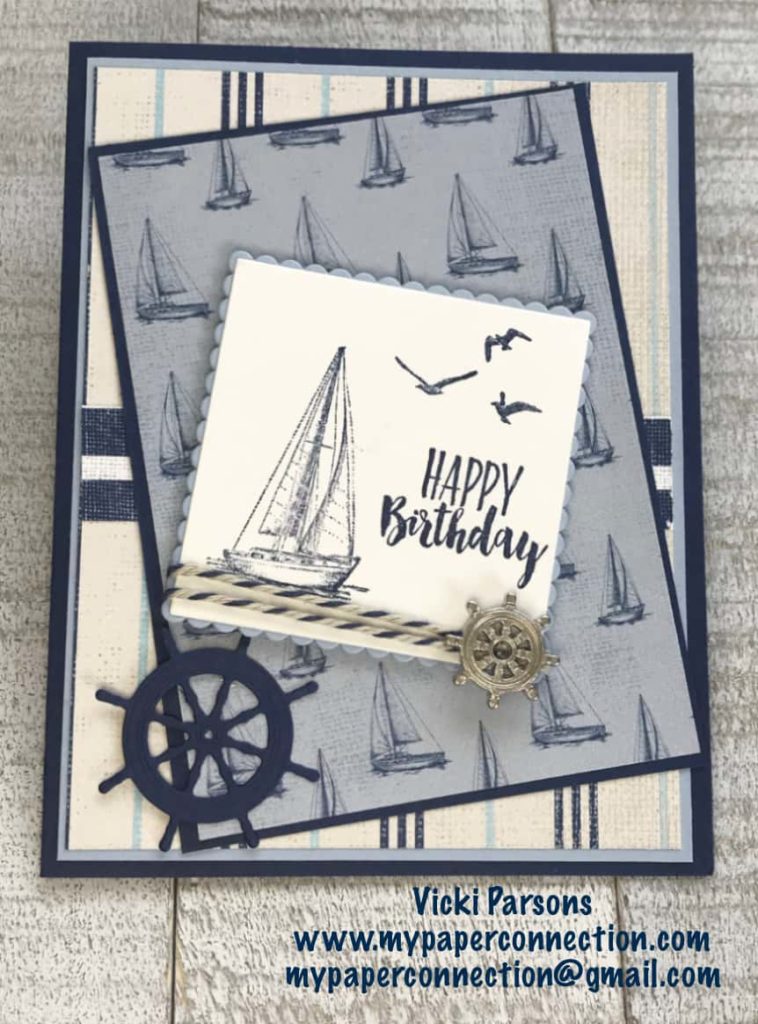
For my second card, I once again used Night of Navy but this time I paired it with Seaside Spray and the designer series paper. I used Night of Navy as my card base then layered Seaside Spray and the striped designer series paper on the front then placed a 1” strip of striped DSP across the middle. Next I adhered another piece of DSP to a smaller piece of Night of Navy cardstock then glued it onto the card base with a cattywompus tilt! Next I stamped the sailboat, birds and Happy Birthday onto a square die cut piece of Night of Navy. I then glued this to a scalloped die cut square that is slightly bigger in Seaside Spray. At this point I wrapped baker twin around the bottom of the square securing in the back then used a glue dot to stick a ship’s wheel trinket on the front. I placed dimensionals on the back of the square and layed it on the card front with a tilt in the opposite direction of the other tilted section. I also die cut a wheel from Night of Navy to accent the card and placed it on the bottom left hand side. I just love how these two wheels compliment each other. I think they just make this card!

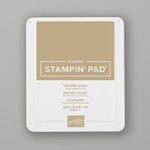
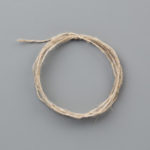
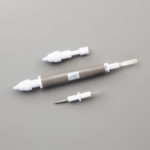
For my third card, I created another fun fold. I also used a cheating method of using scrap paper to line the sides of your Designer Series Paper that gives the illusion that you backed the DSP with a larger piece. I did this with the Crumb Cake scraps and it truly looks like I used an entire piece of cardstock that is larger that my DSP. I glued the strips to each side of the DSP then glued it to the center panel of the card front. I then glued a 1 ½” strip of DSP that coordinates to the inside of the card base on the right side. After this I stamped a sailboat to a scrap piece of Whisper White and cut it out using the die. I then stamped Happy Birthday onto a die cut square then adhered the sailboat to the bottom left of the square. Next I glued the square to a die cut Stitched Square of Crumb Cake. Next I created a Sailor’s knot from braided linen (for instructions see video) then attached the linen knot to the corner of the square. Once my square was all completed, I paced dimensionals on the back and put it on the card front. Next I stamped a compass using Crumb Cake Ink onto a piece of Crumb Cake cardstock then punched out using the 1 ½” punch. I also die cut the needle for the compass then using my Take Your Pick tool I pierced through the center of the compass and attached the needle to the compass using a small brad. I popped this up on dimensionals and placed it in the bottom right corner close enough that the card front can tuck in under the compass to secure it in place. This turned out better than I had imagined and I love it!
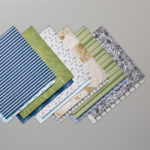
All of the supplies and measurements are listed below. If you would like to purchase any of the supplies I used, click on the picture of the supply and it will take you directly to my store. Thanks for stopping by!!!
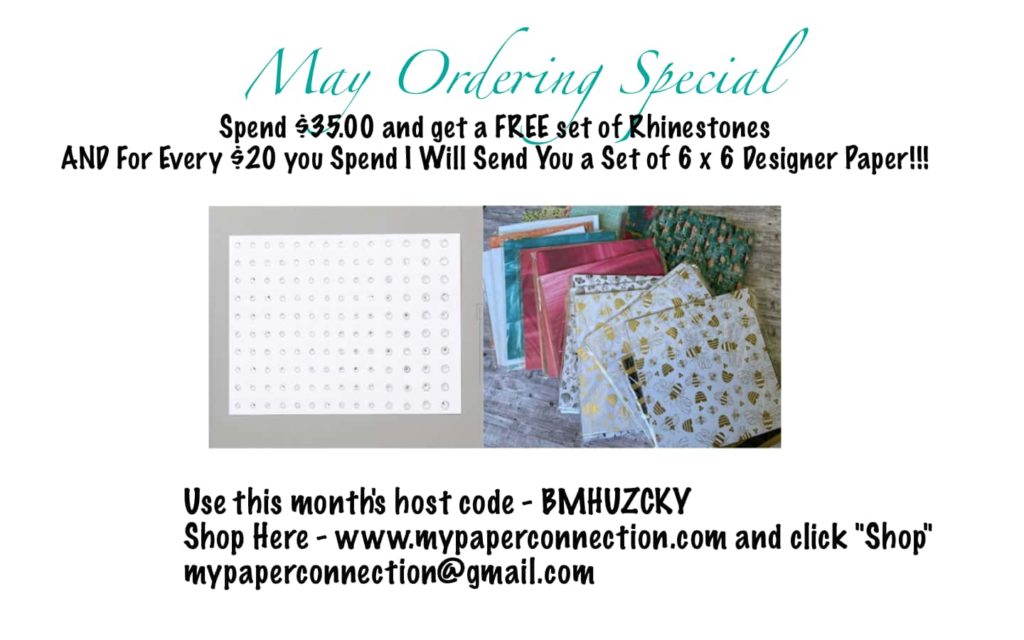
Only two more days to take advantage of this deal!!!
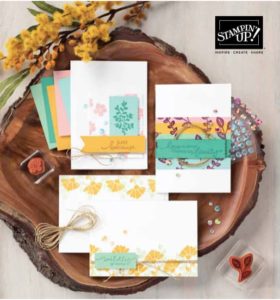
My catalogs are here! Be sure to send me a message if you would like to receive the new Stampin’ Up! Catalog. To request a catalog either click on “Contact Me” or email me at [email protected]
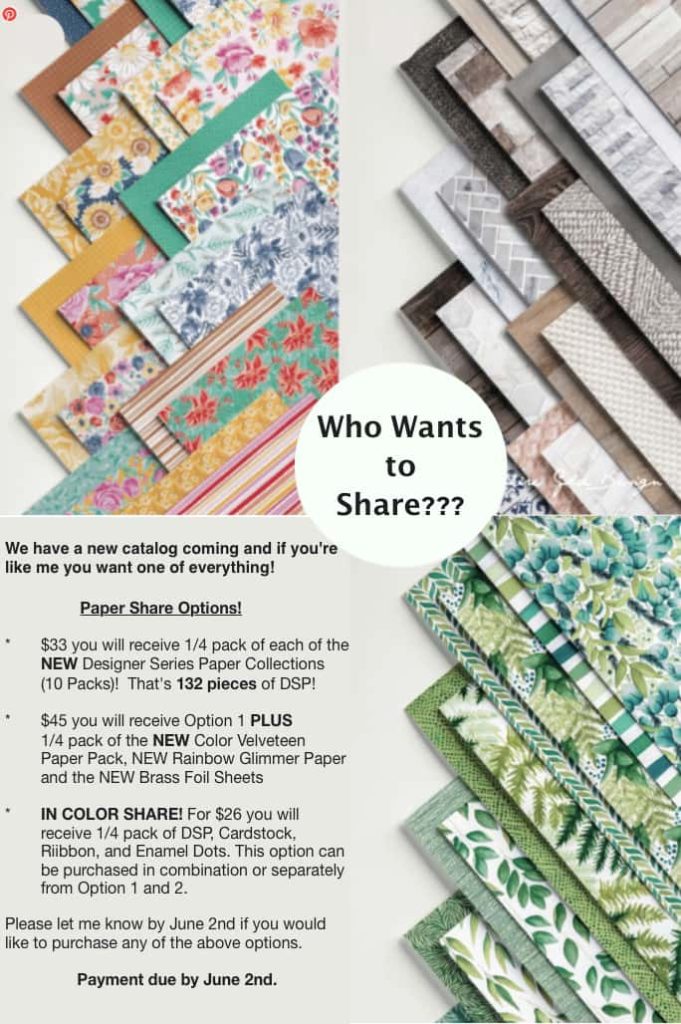
Lastly, June 2nd is the deadline to order and pay for my paper share. Please message me if you would like to participate. Thanks!!!
Have a great day y’all!


Reader Interactions