Connecting People Through Paper Creations
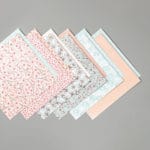
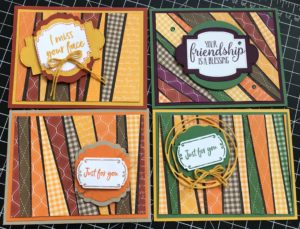 So I have been a little obsessed with this technique! Bruno Bertucci did a video on how to use your scraps and create card fronts with them. I had so much fun making these. I even got a little creative by placing them diagonally. I created another card using Parisian Blossoms DSP.
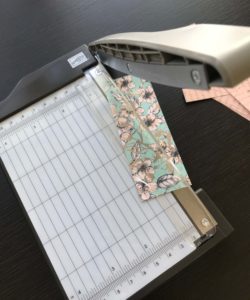
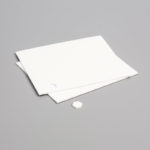
The first thing you do is to choose the paper you wish to use and which direction you would like your strips to go. If you are making your card diagonal or portrait, they will need to be about 5 1/4″ long but if your card is landscape they only need to be about 4″ long. Next you trim wedges of paper using your trimmer.
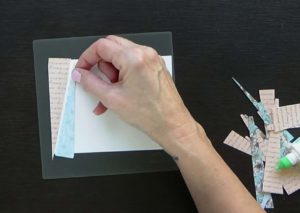
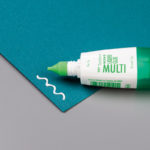
Next I laid my card front on the silicone mat then began to adhere the strips to the card front using liquid glue. I staggered the pieces, alternating colors and sizes so that they would fit across the front.
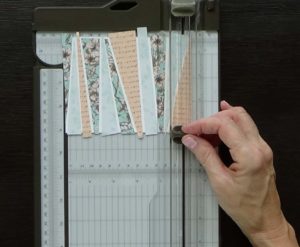
Once all of your pieces are glued in place, take your larger trimmer and trim your card front to size. For this card, I wanted it to have another layer between it and the card base so I trimmed the scrappy piece to 3 3/4″ x 5″. Make sure all the edges are trimmed clean.
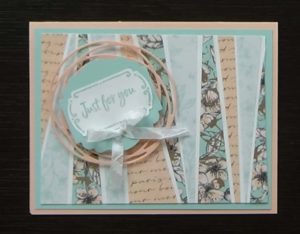
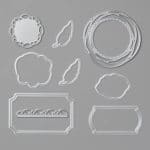
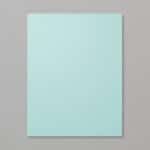
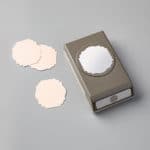
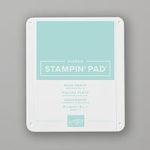
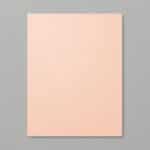
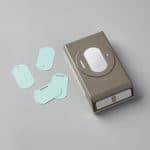
Once your card front is trimmed, adhere it to your card base then decorate. My second layer is Pool Party and is 4″ x 5 1/4″ and my card base is Petal Pink and is 5 1/2″ x 8 1/2″ and scored at 4 1/4″. I used a die from Painted Labels and the Label Me Lovely and Label Me Fancy punches. I think this one is my favorite! What do you think???
The products I used are listed below. To purchase these products, click on the picture and it will take you to my store. Thanks for stopping by!!!

Reader Interactions